With these simple instructions, you can create your own realistic planet in Photoshop! No 3D tools or previous experience is required, and it’s a lot easier than you might think!
What You Need
- Photoshop. I am using Photoshop CS5 for this tutorial but almost all versions should work just fine.
- High resolution texture stock images. This will be the base of your planet, so something with cracks or rough surface is usually good. Try to have variety though! You can make your own, find a stock image on deviantART, or you can even use some of NASA’s textures. Another excellent option is to use screenshots of Google Maps. Set it to satellite view, turn off labels, and zoom in to get some great terrain textures!
Part 1 – Creating the Base
First you have to gather your texture(s). This is when you’ll want to decide what kind of planet you want to make: a rocky/desert planet, an Earth-like planet, or a gas planet. Choose your texture(s) accordingly!
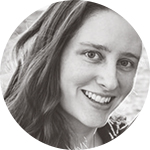
Grab your texture and paste it into a new document. An ideal resolution is about 5000×5000 pixels, but slightly lower is fine too. If you don’t quite make that resolution you can always use multiple textures to fill up the space. That’s what I did!
Now this doesn’t look very pretty does it? We have to blend the different images together. To do this, get out the Clone Stamp Tool. You will want to lower the opacity down to something like 40% and make sure it is set to “All Layers.” I usually like to create a new layer for the blending. Then simply use the clone tool to blend the images together to smooth the transitions.
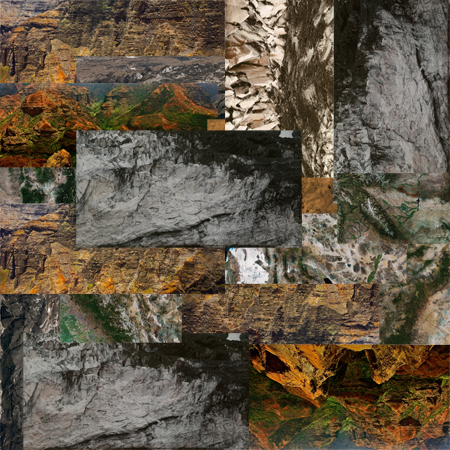
Once you’re done, flatten your image and sharpen it up (Filter > Sharpen > Smart Sharpen). How much you sharpen it will depend on your image and your canvas size, but I personally sharpened mine 76% with a 4.4px radius. You should now have something like this:
That’s a bit better! It’s far from perfect, but it will look great in the end, I promise!
Click to enlarge
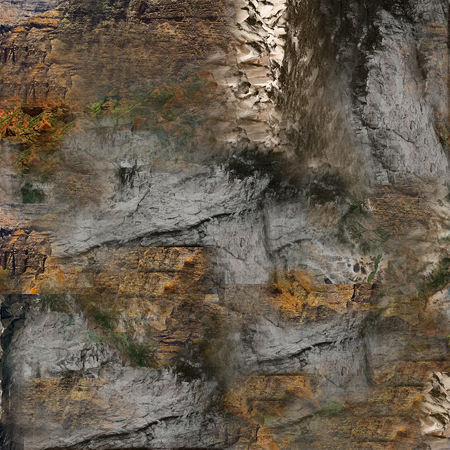
Next, use the Elliptical Marquee Tool to create a large selection in the centre of your image. Use up as much canvas space as possible! Then, use the CTRL+Shift+I (or CMD+Shift+I for Mac) shortcut to get the inverse of your selection. Then delete the selection. This should leave you with just the circle. Use the CTRL+Shift+I shortcut to return to your original circle selection. Then, go to Filter > Distort > Spherize and apply the settings with 100% amount on Normal mode. Press okay, then apply the exact same settings again.
Now is a good time to do any colour/lighting adjustments if you wish. Play with the levels, or sometimes I find it very effective to duplicate the layer and set the new layer’s layer style to “Overlay.”
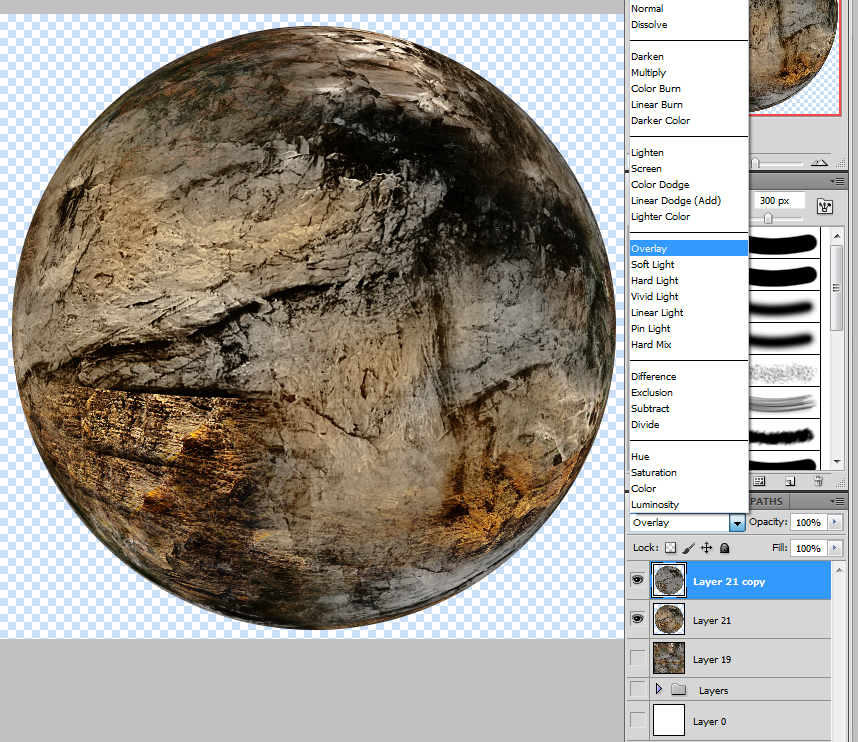
Click image to enlarge
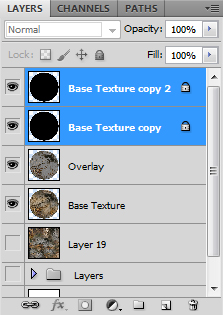
Next, duplicate your base texture layer twice and move both new copies to the top of your layers list. With one of your copies selected, click the “Lock Transparent Pixels” button in the layer panel. With black set as your background colour, hit CTRL+Delete (or CMD+Delete for Mac) to make your circle black. Now repeat these steps for your second copy. Your layers list should now look something like this:
At this point I like to increase my canvas size a bit to make room for the background! Alternatively you can reduce the size of your planet, but I prefer to reduce everything at the end.
Part 2 – The Atmosphere
It’s onto the atmosphere! First, hide your top layer by toggling the invisibility in the layers panel. Now, select your second layer (which should be the first black texture copy) and let’s work with that! Change the “Fill” in the layers panel to 0%. Then, double click the layer’s thumbnail to bring up the Layer Style panel and apply these settings:
Inner Shadow
First click Inner Shadow to activate it, and then use these settings:
- Blend Mode: Screen
- Colour: #608dcb
- Opacity: 100%
- Angle: 122 degrees
- Distance: 190px
- Size: 250px
Leave everything not listed as the default. Note that if you are using a different canvas size (other than the 5000x5000px recommended) you may want to use different size and distance values.
Outer Glow
Click Outer Glow to activate it, and then use these settings:
- Blend Mode: Screen
- Colour: #608dcb
- Opacity: 100%
- Size: 75px
Leave everything not listed as the default. Note that if you are using a different canvas size (other than the 5000x5000px recommended) you may want to use a different size value.
Inner Glow
Click Inner Glow to activate it, and then use these settings:
- Blend Mode: Screen
- Colour: #608dcb
- Opacity: 100%
- Size: 80px
Leave everything not listed as the default. Note that if you are using a different canvas size (other than the 5000x5000px recommended) you may want to use a different size value.
Part 3 – The Shadow
Be sure to save all your Layer Style settings and now it’s time to move onto the planet’s shadow! Select the top layer that we hid earlier and unhide it. Now unselect the “Lock Transparent Pixels” option. Go to Filter > Blur > Gaussian Blur and set a radius of somewhere between 100px and 250px. I personally used 250px in this tutorial but it depends on what look you like best 🙂 Now, use the shortcut CTRL+T (CMD+T for Mac) to enter into the Transform mode. Hold down shift while you drag the bottom right corner outwards until you’re pleased with the results. When you’re done, press Enter to commit your transform changes. Now, change your document’s background colour to black (this can be done by creating a new layer, moving it to the bottom, and filling it with black), and voilà!
If your background will be something other than pure black, you may want to remove the extra bits of shadow that now go outside of our planet. You can do this by holding down CTRL (CMD for Mac) and clicking on the base texture’s layer icon. This should select the outline of your planet. Then, with the shadow layer selected, do CTRL+Shift+I (CMD+Shift+I for Mac) to select the inverse, and delete the excess shadow. Note that you may have to play with reducing your selection first (or expanding if you do this step before selecting the inverse), as doing this will cause your atmosphere settings to show behind the shadow. Another option is to just erase parts of the atmosphere layer where the shadow is.
Part 4 – Background
I won’t do a step-by-step on how to create a space background (maybe in another tutorial!) but that’s something you can play around with. Just have fun with shapes and colours and don’t forget to add your stars! Layer styles and brush modes are an excellent tool for space backgrounds. “Screen” for light parts and “Multiply” for dark parts are great.
After you add your background you may also want to do some colour adjustments to your planet to help it feel more at home in its surroundings. This is easily done by creating a new layer on top of your planet, right click the layer and select “Create Clipping Mask,” change the layer blending style to “Colour,” and then simply paint colour over the planet with the brush tool. I’d also recommend adjusting the opacity of this colour layer. I used 30% for my own colour adjustments but that’s something you should play around with.
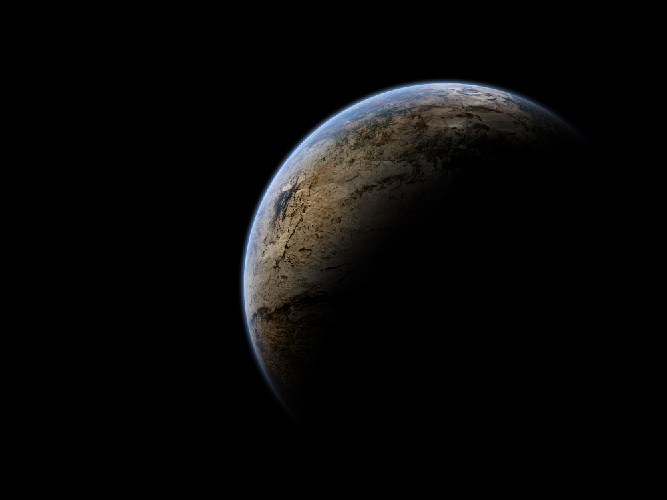
Here is my finished product:
Click to enlarge
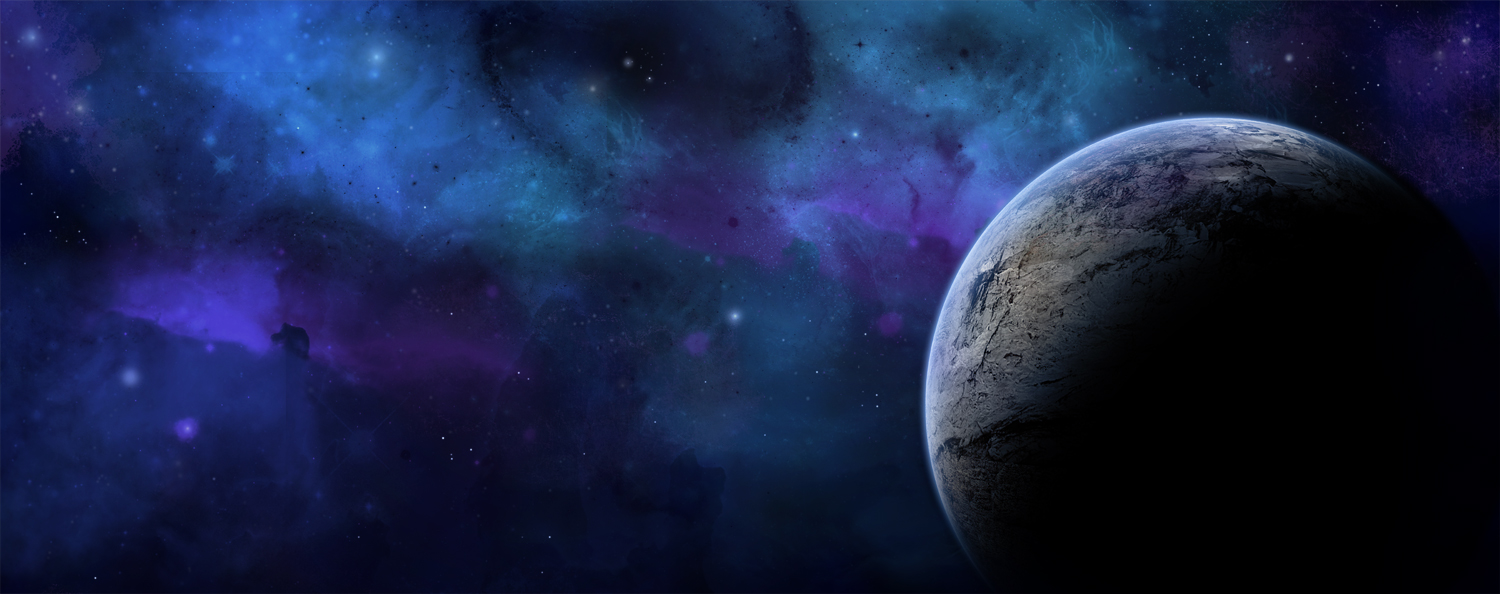
More Examples
Here are other examples of planets using the same technique:
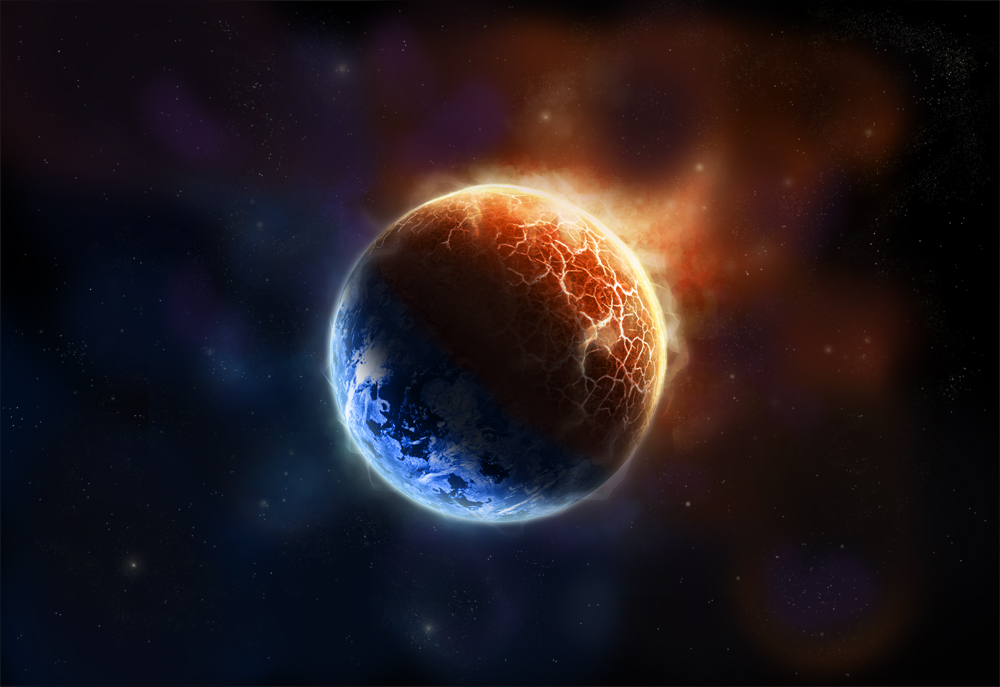
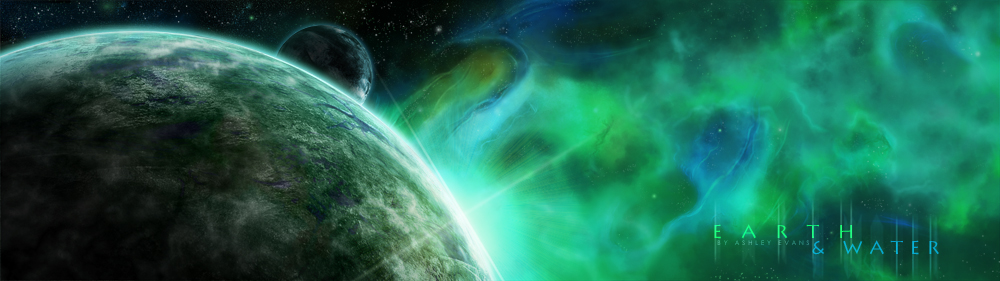


Click images to enlarge
great tutorial thanks for sharing…
just tried it on pse7,but there is no heading for it in SELECT ,i have lokoed through but to no avail,unless i am blind,so how does it work elements 7, many thx again.
I just found this post from a link on Nose Gaze — this is AWESOME! What a great tutorial. Thanks!
My pleasure! 😀
thanks for great tutorials